Oracle Fusion Cloud offers a powerful suite of business intelligence and reporting tools, namely BI Publisher (BIP) and Oracle Transactional Business Intelligence (OTBI). These reporting tools enable businesses to create, customize, and analyze reports to gain valuable insights into their data.
As part of a typical implementation and/or support process, they may need to migrate these reports from one environment to another, such as from a development environment to a production environment.
So let's see what are the various methods of migrating BIP and OTBI reports seamlessly to another environment.
Prerequisites:
1. Understand the Source and Target Environments:
Before initiating the migration, make sure you have a clear understanding of the source environment (where the reports currently reside) and the target environment (where you want to migrate the reports).
2. Backup Your Reports:
It is crucial to create a backup of all your BIP and OTBI reports from the source environment. In case anything goes wrong during the migration process, you can restore the reports using the backup.
3. Export Reports from the Source Environment:
Both BIP and OTBI reports can be exported from the source environment in various formats like below:
BI Report -> .xdoz
BI Data Model -> .xdmz
OTBI Prompts -> .catalog
OTBI Analysis -> .catalog
OTBI Dashboard -> .catalog
Ensure you have exported all the necessary reports before proceeding to the migration.
Now, let's see how to perform actual migration steps:
Migrating BI Publisher (BIP) Reports:
BI Publisher reports are widely used for document-style reporting in Oracle Fusion Cloud.
To migrate these reports, follow below steps:
a. Export BIP Reports:
- Log in to the source environment and export the BIP reports you wish to migrate.
- Navigate to instance URL /xmlpserver

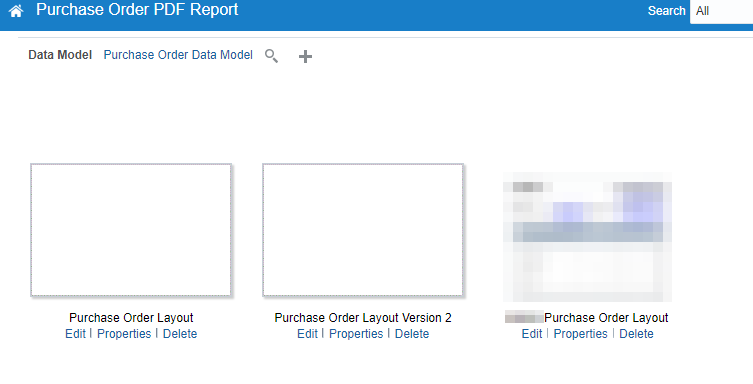
- Find the desired report to be exported


- Download the .xdoz file for Report and .xdmz file for Data Model


b. Access the Target Environment:
- Log in to the target environment where you want to import the BIP reports.
- Navigate to instance URL /xmlpserver
c. Upload BIP Reports:
- Navigate to the desired folder in the target environment. Locate the option to Upload the report or data model, and select the exported .xdoz, .xdmz files.


d. Review and Test:
- Once the reports are imported, review them in the target environment. Ensure that all the data sources, layouts, and parameters are correctly set up. Run some test cases to verify the accuracy of the migrated reports.
Migrating Oracle Transactional Business Intelligence (OTBI) Reports:
OTBI reports provide real-time operational intelligence by analyzing transactional data.
To migrate these reports, follow these steps:
a. Export OTBI Reports:
- Access the OTBI interface in the source environment.
- Navigate to instance URL /analytics

- Export the desired OTBI report components such as Analysis, Prompts and Dashboards using the Archive option.
Dashboard:

Prompts:

Analysis:

- Download the .catalog files.

b. Import OTBI Reports:
- Log in to the target environment and navigate to the OTBI interface.
- Navigate to instance URL /analytics
- Look for the Unarchive option to import the OTBI report components, and select the .catalog files you previously exported.


c. Validate and Optimize:
- After importing the reports, validate them to ensure all data sources, filters, and layout settings are intact. Optimize the reports if necessary, to adapt them to any changes in the target environment.